Regular cleaning and maintenance of the hearing aids would go a long way toward extending the life of hearing aids and keeping them in optimum operation. Being among the important things a person has, the need to care about your hearing aids often comes with maintenance, ensuring that they serve their purpose excellently. We here discuss some effective and practical, professional means of cleaning your hearing instruments for good operation.
Read the manual of the hearing aid and check regularly
Before cleaning of hearing aids by oneself, the operating instructions of your hearing aids should be carefully read. Therein, recommendations about cleaning and precautions, and operating instructions for each component of the device are provided. In order not to damage the device, one also should not perform any operations that are directly prohibited by the manual or the hearing care professional. Furthermore, regularly visit your hearing aid supplier or hearing care professional and have your hearing aids professionally cleaned and checked at least every 6 months to 1 year.
Suggested hearing aid cleaning tools
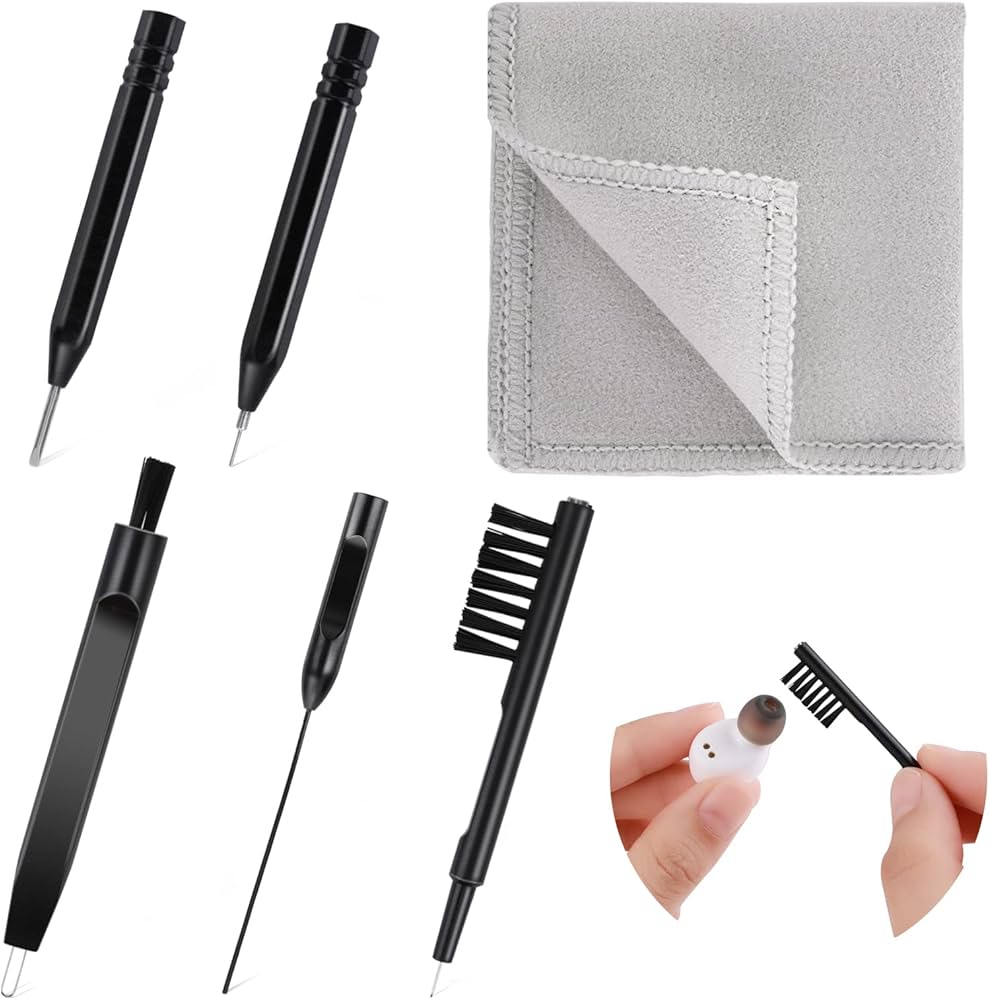
Every day when you clean your hearing aids, you need to know which tool is best to use. These suggested cleaning tools can help make it easy for you to keep your hearing aids clean. These include:
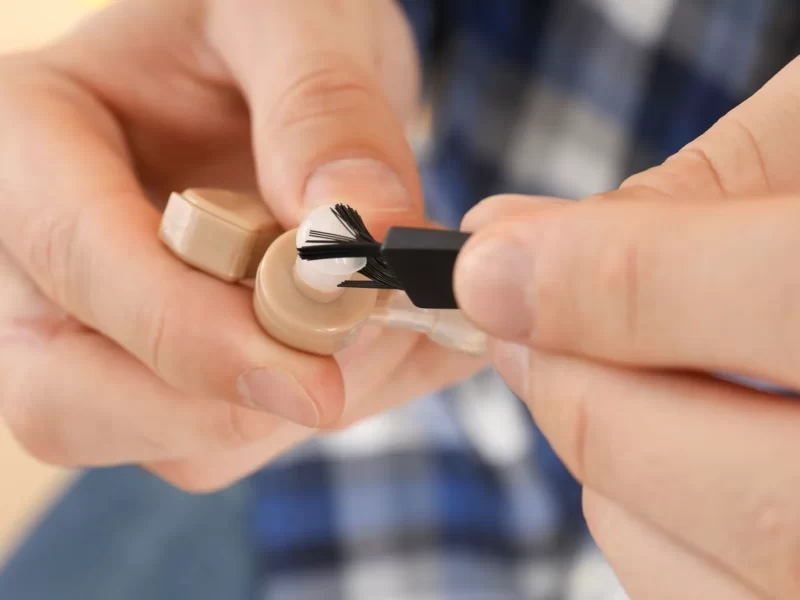
1. Cleaning brush: designed to remove the wax on the surface of or inside of a hearing device.
2. Soft, dry cloth: Gently go over the outside casing to avoid scratches to this hearing aid box.
3. Small cleaning iron ring: the iron ring serves to handle tough situations in severe earwax buildup between the tiniest grooves and openings.
4. Vent cleaner: It is a tool specifically designed for cleaning vents and can remove dirt and other debris accumulation inside the vents.
If you are not sure how to choose a cleaning tool, go straight for the multitasking hearing aid cleaning kit that includes all of the above tools

Precautions when cleaning
Try to avoid contact of moisture with hearing aids: it is the “enemy” of the electronic components of hearing aids; never allow the device to be immersed in water or use a wet cloth to clean it.
Avoid using non-special chemical cleaners that may damage the housing or internal parts. Only use cleaning products designed for cleaning hearing aids.
Do not insert foreign objects. Never use sharp tools to clean microphone and receiver ports; it may only push dirt further in, damaging the components.
Handle with care: Be delicate when cleaning; overexertion may lead to the breaking of fragile parts.
Recommendation on the frequency of cleaning
Depending on the frequency of use and working environment, cleaning can be divided into daily cleaning and weekly deep cleaning of hearing aids.
Daily cleaning
The cleaning of hearing aids has to be done every morning. Morning is the best time for cleaning because after a night’s rest, earwax and any other dirt are usually dry and thus easy to remove. Daily cleaning can be carried out as follows:
Use the earwax cleaning brush to clean the dust and ear wax on the microphone cover carefully; wipe the housing of the hearing aid using a soft dry cloth to maintain a clean and shining surface. Keep the battery compartment open and let it ventilate or get air and dried up to extend the shelf life of the battery.
Weekly deep cleaning
More time every week should be spent on deep cleaning and checking the hearing aids for stubborn dirt to keep it in good shape. This may include cleaning out the earwax that has accrued in the gaps of the device with an earwax cleaning stick or a small iron ring; checking the protector of the earwax (if any), replacing it thereafter, and then carrying out deep cleaning inside the vent with a vent cleaner.
Cleaning different types of hearing aids
In-the-ear hearing aids (ITE)
Due to their small size, ITEs are very careful in cleaning the microphone cover, receiver, and vents:
The visible surface dirt on the microphone cover, receiver, and vents should be cleaned with an earwax cleaning brush.
Earwax cleaning stick: remove stubborn wax accumulation
Vent cleaner: Clean the dirt inside the vent from all directions in
Finally, lightly wipe the hearing aid’s surface using a soft dry cloth.
Behind-the-ear(BTE)
Since behind-the-ear hearing aids have three parts—the main unit, ear mold, and sound tube has to be cleaned in a manner suited to the part in question.
Pull the earmold out and flush it with warm water. After drying up and installation. Note that the ear mold portion can only be washed with water;
Check the blocking in the sound tube and use its appropriate cleaning device.
Apply an earwax cleaning stick to the area at the front where main units usually build up with wax.
Conclusion
Cleaning properly is very important to keep hearing aids in their best condition. At ELHearing, we offer excellent quality hearing aids with very stern quality control and certifications like FDA, FCC, and ROHS. Since 2014, our mission “Simple Happiness” has guided us to provide easy and affordable hearing solutions worldwide.
